
The DTF Printing Process: Step-by-Step Tutorial (Let’s Make Some Magic!)
Ready to turn your wildest design ideas into eye-popping, wash-after-wash custom tees? DTF printing is straight-up game-changing — full vibrant colors on dark fabrics, buttery-soft feel, no pre-treatment drama, and prints that laugh at 50+ laundry cycles.
In 2026, the tech is smoother than ever, so even if you're just starting out, you can crank out pro-level transfers in under 30 minutes.
Let's dive in like pros — grab your supplies, blast some tunes, and follow along. (Quick insider tip: gloves on, room at 40–60% humidity = zero headaches!)
-
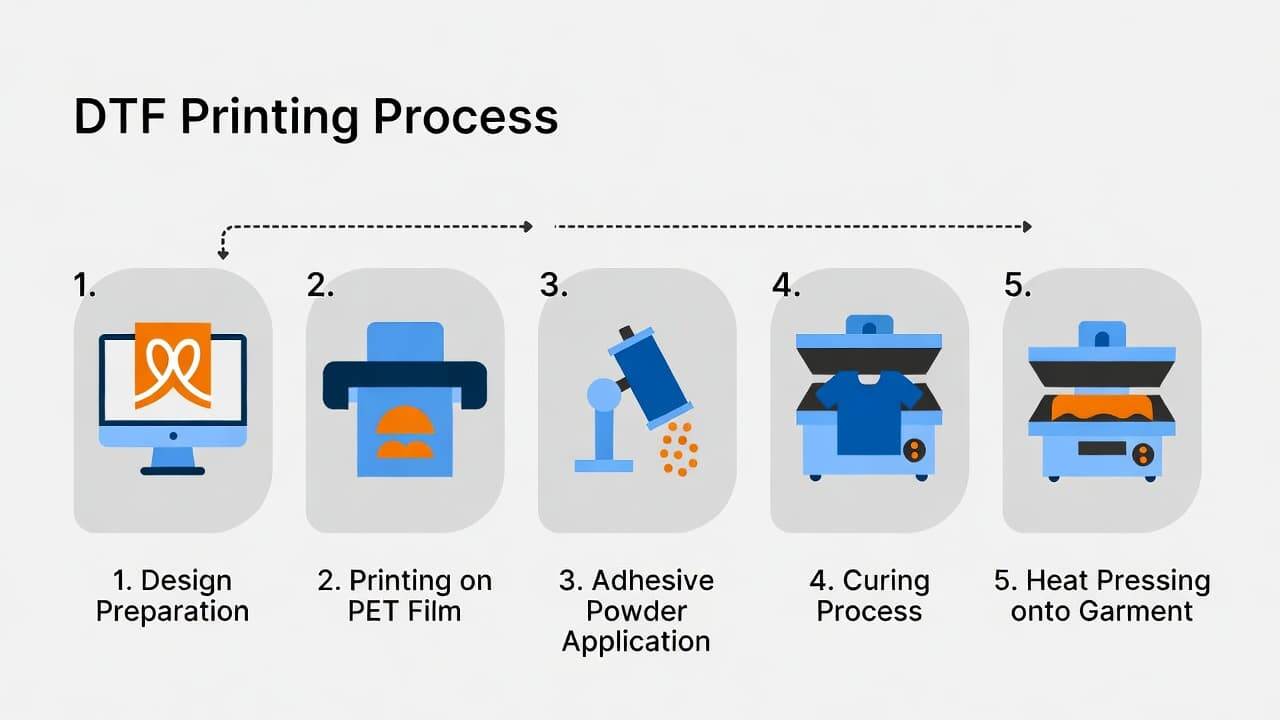
Design Your Artwork & Get It Ready (The Fun Creative Part) This is your moment to shine! Fire up Photoshop, Illustrator, Canva — whatever sparks joy.
- 300 DPI minimum, transparent background, RGB mode.
- Dark shirts? White under base is your best friend (RIP software usually handles the magic).
- 2026 pro move: ditch heavy backgrounds, add subtle halftones — prints feel like they were born on the fabric. Export a razor-sharp PNG and you're locked in! Quick win: Test with something simple first. Our high quality DTF inks make colors explode — shop the set here!
-
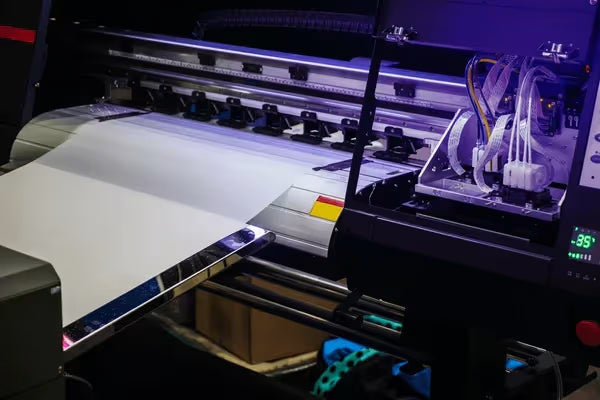
Print on the Film (Colors Come Alive!) Slide your PET film (coated side up) into the printer and hit go!
- CMYK layer first, white under base second — RIP does the heavy lifting.
- Sweet spot settings: 1440 dpi, “DTF film” mode, white at 120–150%. Fresh print = wet, glossy perfection. That's the sign you're crushing it! Beginner lifesaver: Daily nozzle checks keep things smooth. Our clog-resistant inks are a total game-changer — check them out.
-
Sprinkle the Magic Powder (Science Experiment Vibes!) While the ink's still shiny and wet, hit it with hot-melt adhesive powder — this is what glues everything together.
- Shake manually or run it through an auto-shaker for even coverage.
- Tap off excess (reuse it!) until the design looks perfectly coated — no more, no less. Goldilocks rule: too much = crunchy, too little = peeling later. Our premium powders bond like champs for that soft, stretchy finish → shop DTF powders!

-
Cure the Powder (The “Whoa, It’s Happening” Moment) Time to melt that powder into glossy, tacky readiness!
- Oven: 212–300°F for 2–5 minutes.
- Heat press (light pressure, Teflon sheet optional):280-315°F temps, 10-15 seconds. Watch it transform from matte to shiny — pure satisfaction! Cool fully before touching. Test strip hack: Nail your temps once, and every print is golden.
- Cut It Out (Or Gang-Sheet for the Win!) Trim with a small border or gang multiple designs on one sheet — huge time-saver for hustlers!
- Pre-Press the Garment (2 Seconds of Genius) Quick 5-second blast on the shirt removes wrinkles and moisture — adhesion skyrockets!
-
Heat Press the Transfer (The Big Reveal!) Ink-side down, Teflon on top, press at:
- 300–320°F
- 10–20 seconds
- Medium pressure Hot-peel for speed or cold-peel for extra crisp details — peel slow and enjoy the magic!

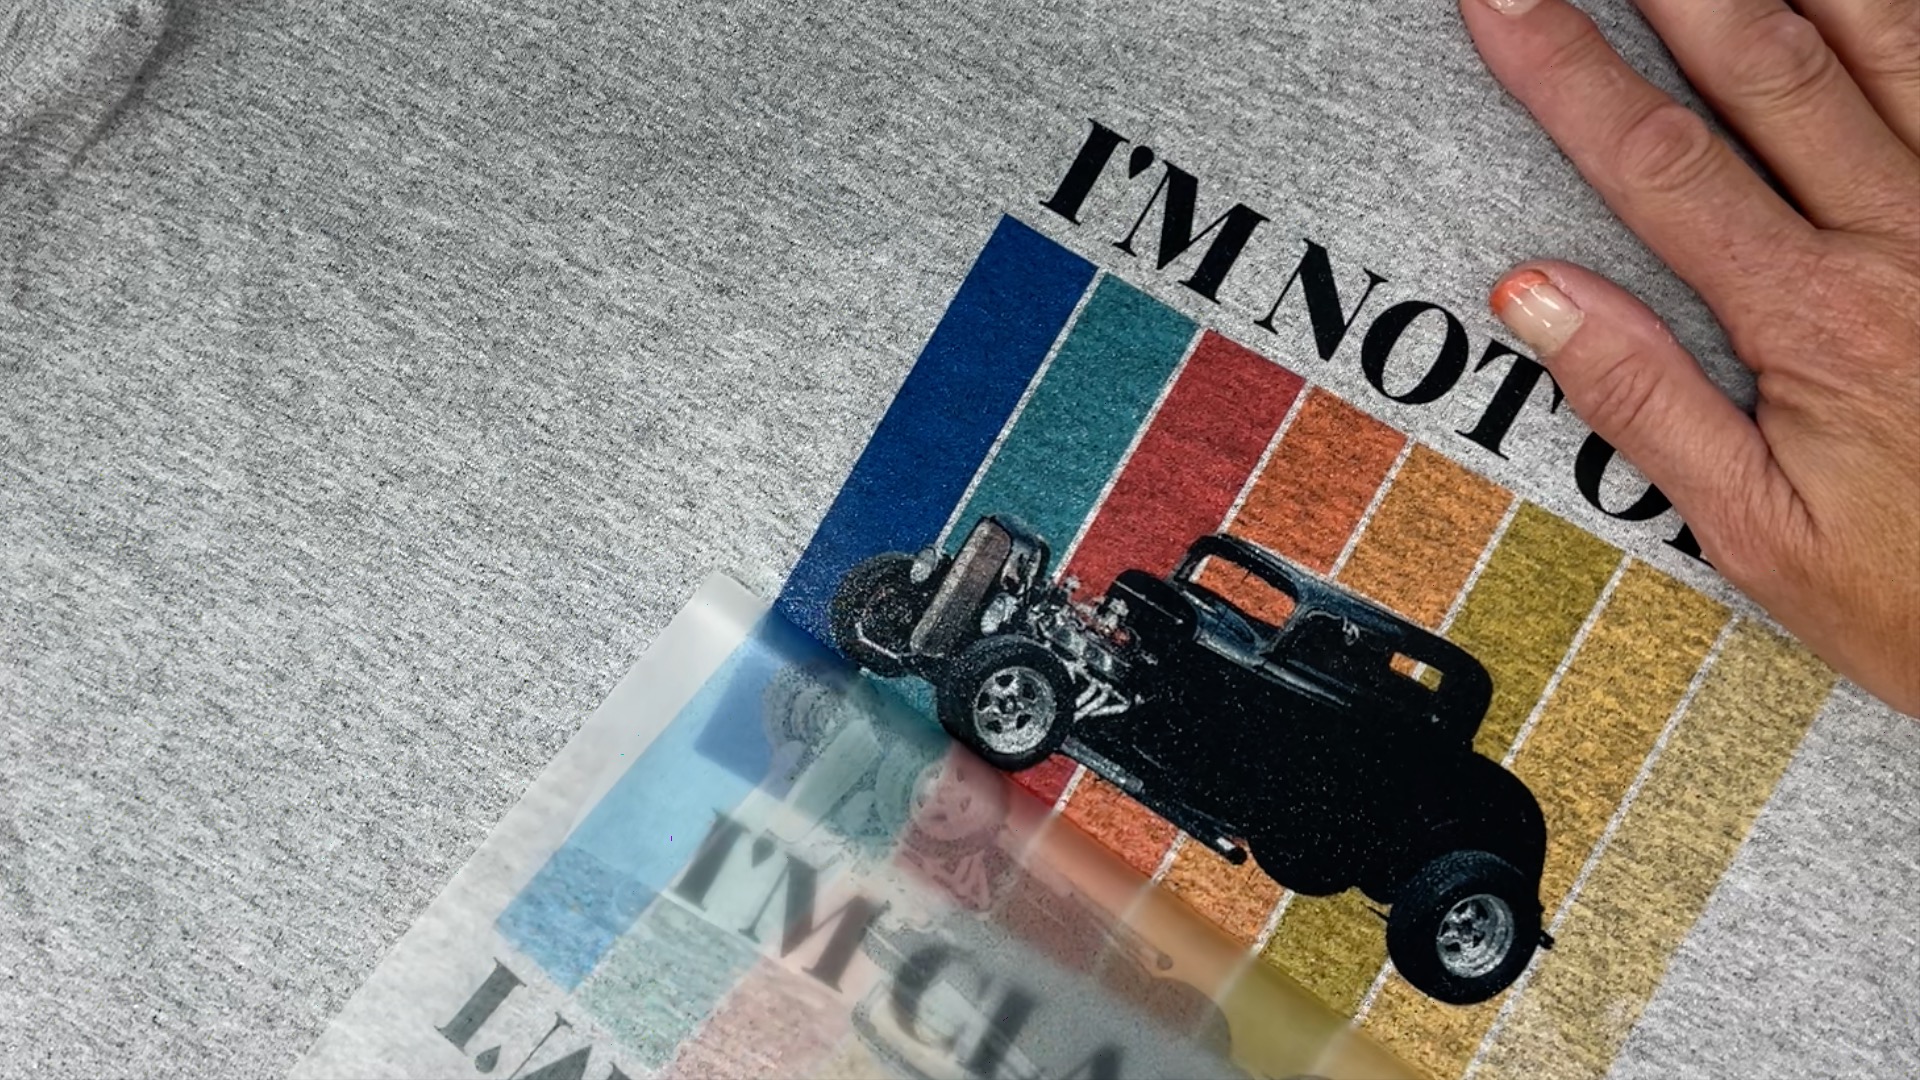
- Final Press & Celebrate! One more quick repress seals the deal. Wait 24 hours before washing (inside-out, cold), and boom — durable, soft, vibrant prints that wow every time.

Stock up on the good stuff at DPI Supply: USA-made inks, films, powders — fast shipping, consistent results.
Next up in the blog: common rookie pitfalls and how to dodge them like a pro. Drop your biggest DTF question below — let's chat!